
Introduction
Wheatgrass isn’t just for juice bars and health enthusiasts; it’s something you can easily grow at home. Whether in your kitchen, balcony, or garden, growing wheatgrass is simple, affordable, and rewarding. In just 7–10 days, you’ll have a fresh supply of this nutrient-rich green ready for juicing or adding to smoothies.
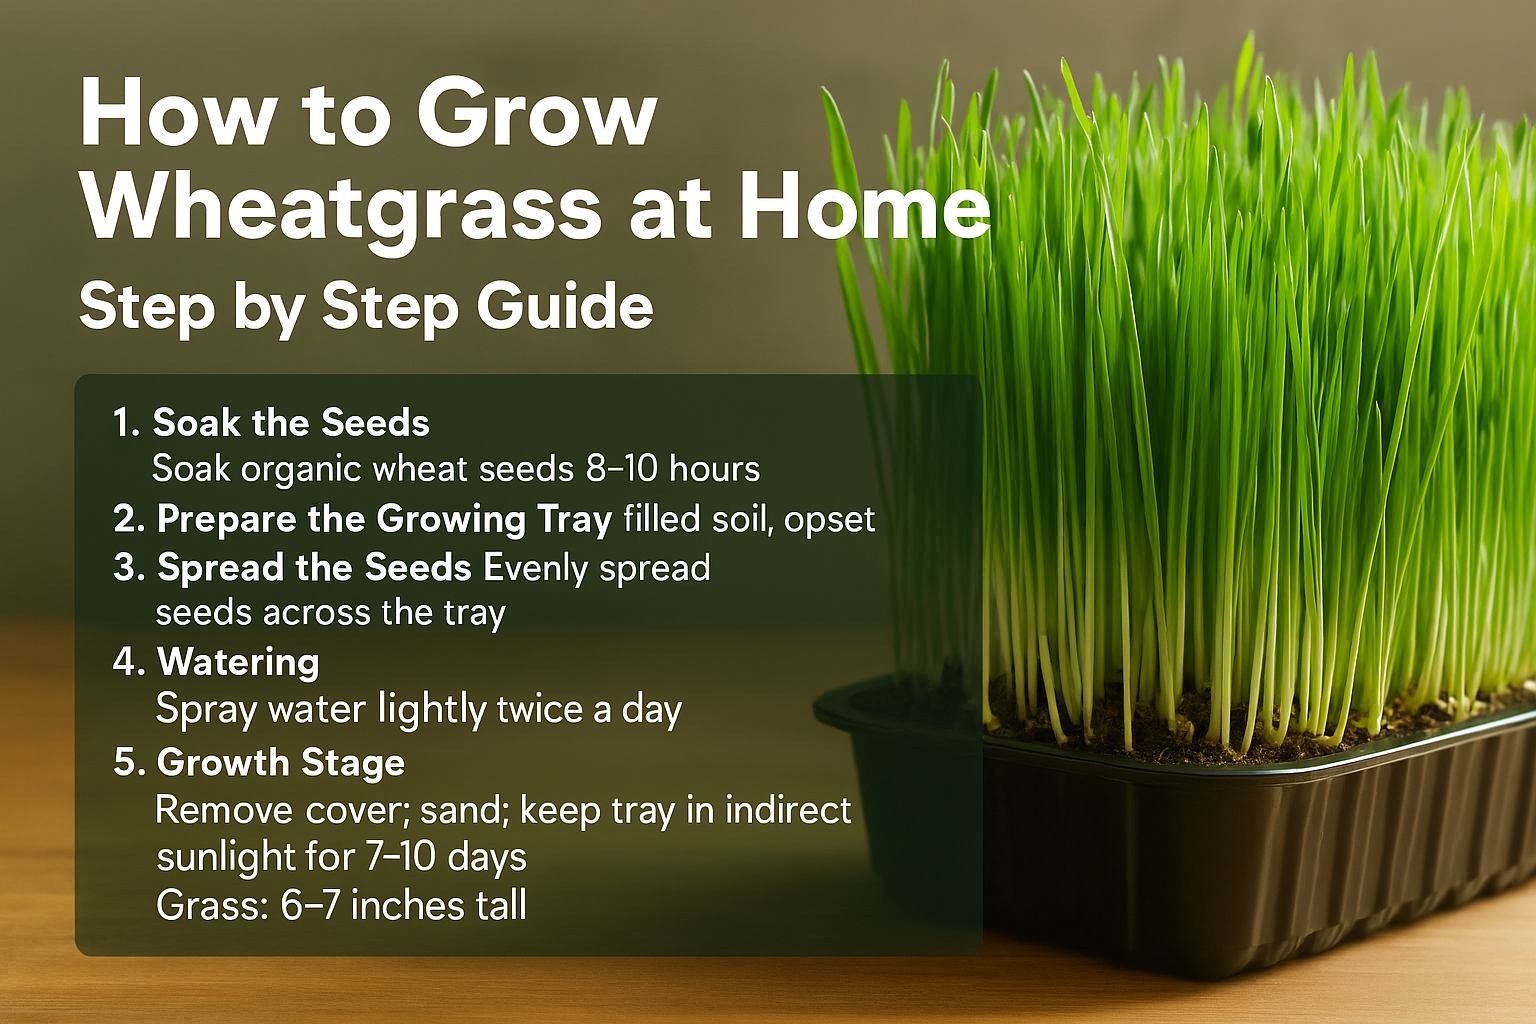
Step-by-Step Guide to Growing Wheatgrass
1. Soak the Seeds
- Take organic wheat seeds and soak them in water for 8–10 hours.
- Drain and rinse twice a day for 2 days until small sprouts appear.
2. Prepare the Growing Tray
- Use a shallow tray with holes at the bottom for drainage.
- Fill it with 1–2 inches of organic soil or cocopeat.
3. Spread the Seeds
- Evenly spread the sprouted seeds across the tray.
- Cover them with a thin layer of soil or a damp cloth for 2 days.
4. Watering
- Spray water lightly twice a day.
- Avoid overwatering to prevent mold.
5. Growth Stage
- Remove the cover after 2 days; keep the tray in indirect sunlight.
- In 7–10 days, the grass will grow 6–7 inches tall and be ready to harvest.
Tips for Best Results
- Maintain proper ventilation to prevent fungus.
- Use filtered water for soaking and spraying.
- Harvest with clean scissors and consume fresh.
Benefits of Homegrown Wheatgrass
- 100% organic and chemical-free.
- Costs far less than store-bought wheatgrass juice.
- Freshness ensures maximum nutrients.
✅ Conclusion
Growing wheatgrass at home is easy and rewarding. With minimal effort, you’ll always have access to a natural detoxifier and energy booster right from your kitchen.


Leave a Reply